
How to Add a Signature in Gmail: Step-by-Step Instructions for Desktop and Mobile
1. Quick Answer: How to Add a Signature in Gmail
2. Before You Start: What You Can Add to a Gmail Signature
3. How to Add a Signature in Gmail on Desktop
4. How to Add a Gmail Signature on Android (Mobile Signature)
5. How to Add a Gmail Signature on iPhone or iPad
6. How to Add an HTML Signature in Gmail
7. Gmail’s Native Signature Editor vs. Newoldstamp: Which Should You Use?
8. How to Create a Professional Gmail Signature with Newoldstamp
9. How to Install a Newoldstamp Signature in Gmail
10. Troubleshooting: Gmail Signature Not Showing, Formatting Incorrectly, or Images Missing
11. How to Manage Gmail Signatures for a Team or Google Workspace
12. Gmail Signature Best Practices
Ever feel overwhelmed by the email flood? Calm down! You're not the only one.
|
Adding a professional email signature in Gmail is a simple way to make a good impression in your email communication. A well-designed signature helps reinforce your brand, gives quick contact information, and can lead people to your website or LinkedIn profile. This guide will show you how to add your signature on desktop and mobile, along with tips to customize it.
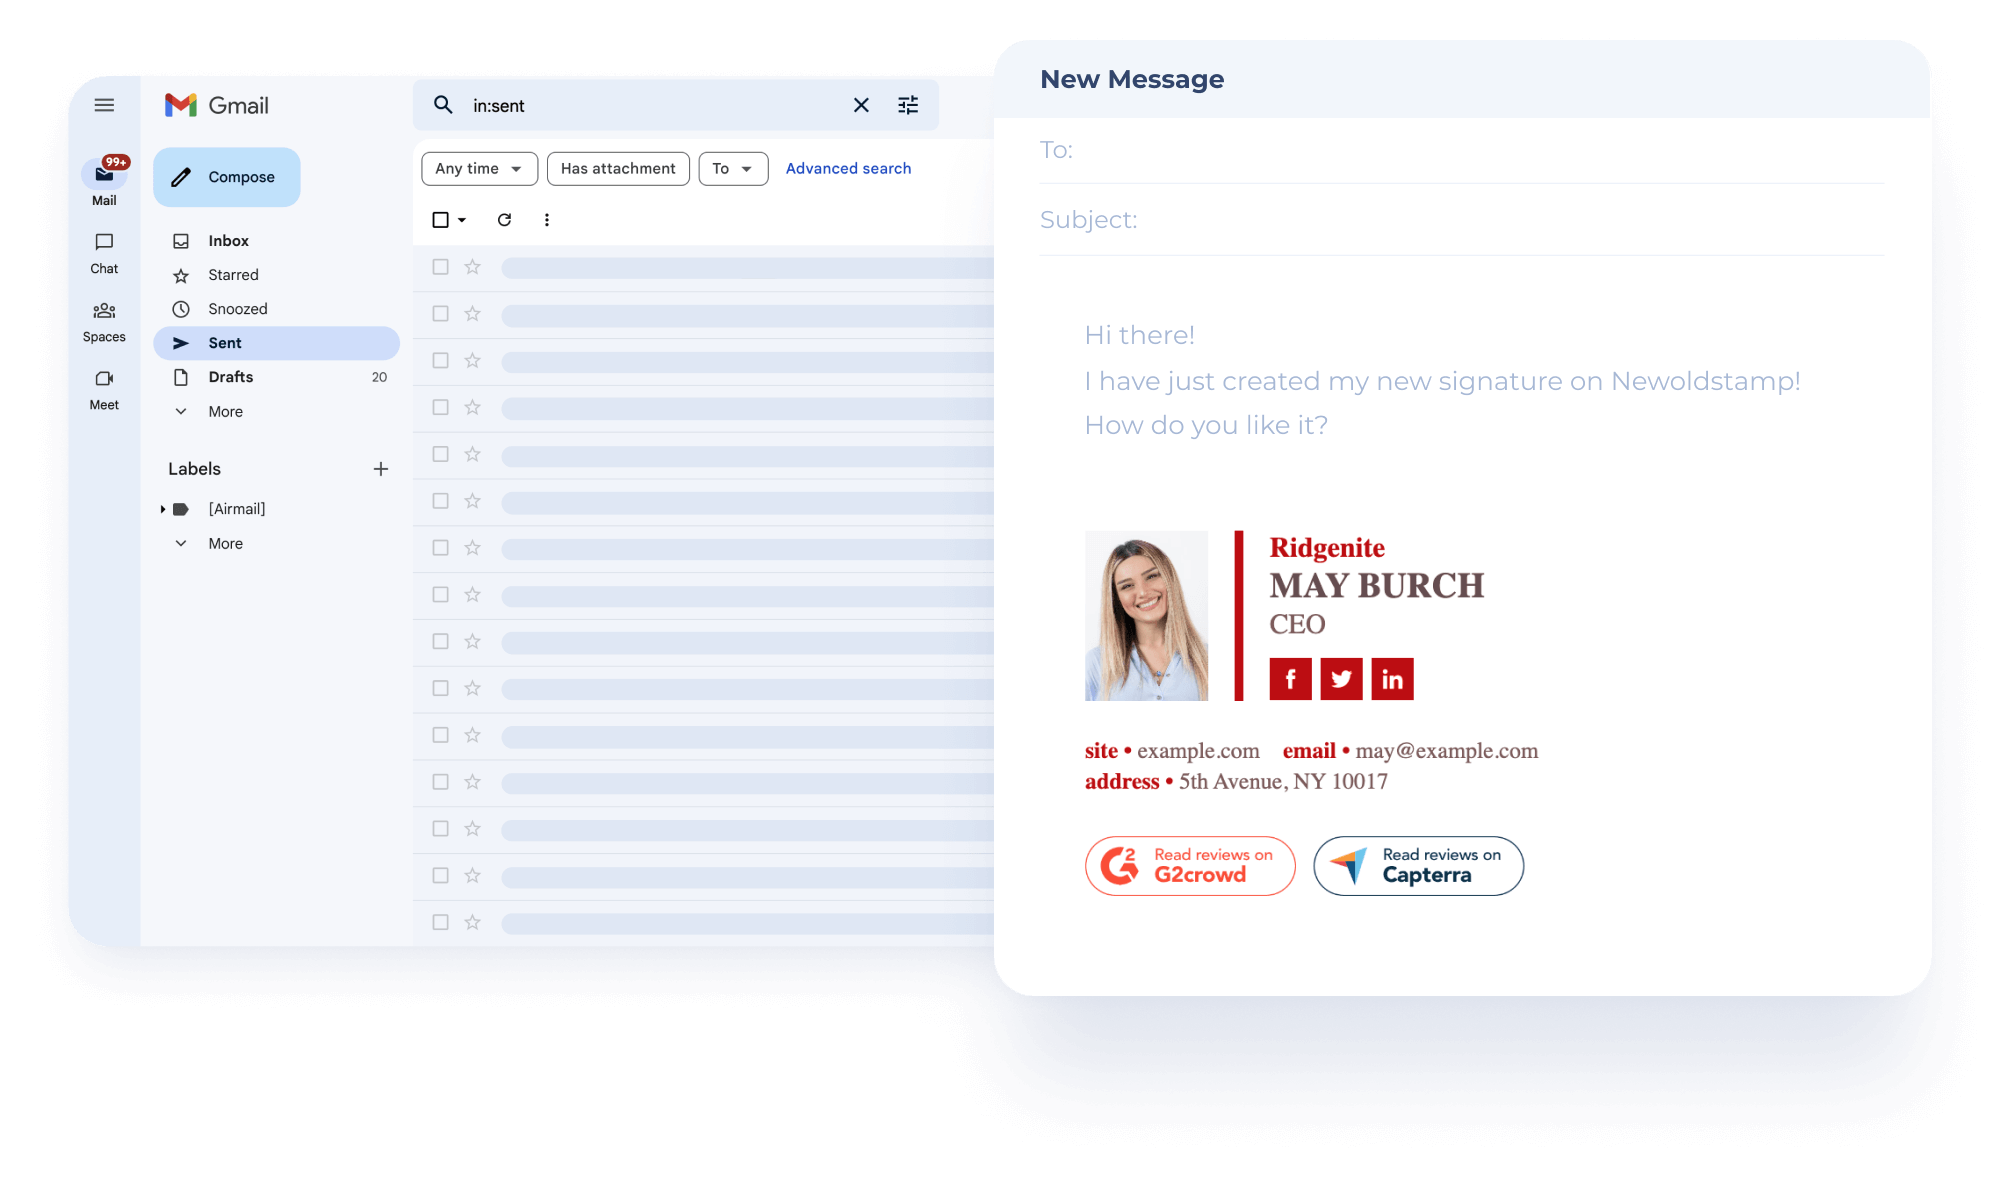
Ready to craft a top-notch signature without the hassle? There are five ways to create an email signature in Gmail:
- create an email footer with the help of a signature creator and install it in your preferred email client;
- explore your email client's option to design a professional Gmail signature effortlessly;
- code HTML signature on your own or hire a software engineer to do the job;
- design your Gmail signature in Photoshop or other image editors;
- produce a signature using Microsoft Word or Google Docs template.
Ready to dive into the details? You can find out more about the pros and cons of each option in this article.
Quick Answer: How to Add a Signature in Gmail
To add or change your Gmail signature, follow these steps:
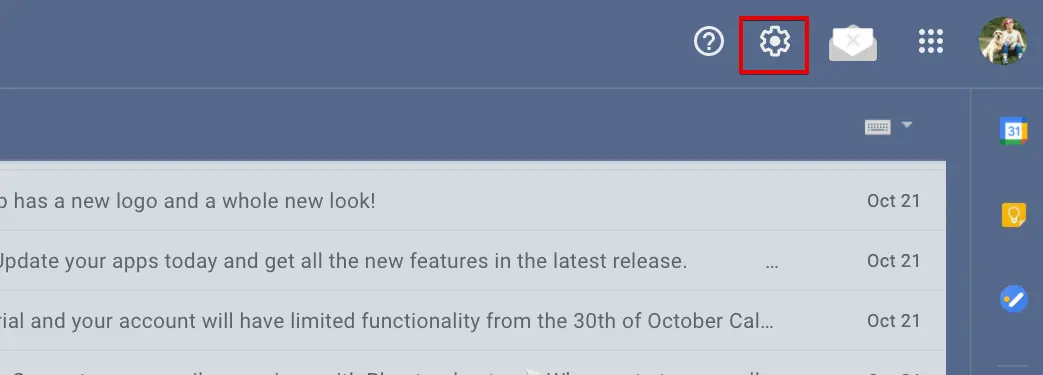
- 1. Go to your Gmail → click the ‘Gear’ icon in the top right corner to access Settings.
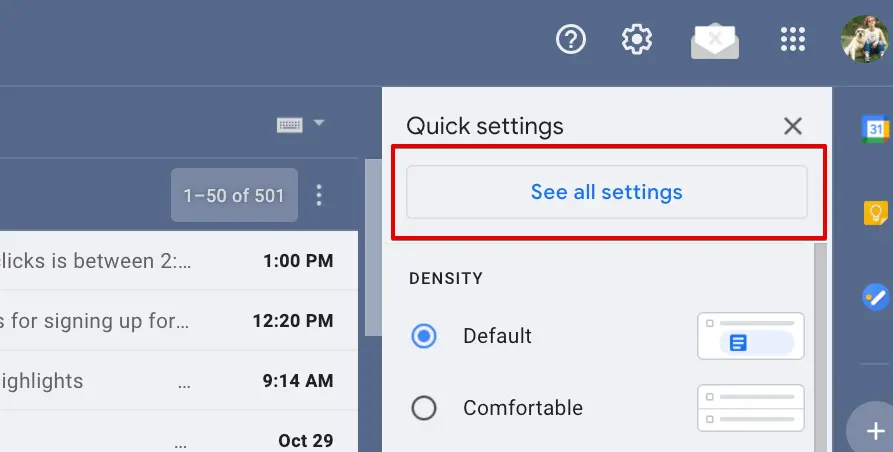
- 2. Click 'See all settings' → scroll down to the 'Signature' section.
- 3. Click 'Create new' and give your new signature a name.
- 4. Utilize the Gmail signature editor to design your signature.
- 5. For automatic signatures in new messages and/or replies, locate 'Signature defaults' below the editor.
- 6. Scroll to the bottom and click 'Save changes'.
Note: Your email signature is text (plus images) that’s automatically added at the bottom of every new email message.
Explore the complete guide for more details or create your signature now.
Before You Start: What You Can Add to a Gmail Signature
A good email signature for Gmail should include your name, job title, company, phone number, website, LinkedIn profile, company logo, and a call to action. Keep it short so it looks nice on mobile devices.
|
Element |
Recommended Content |
Notes |
|---|---|---|
|
Name & Title |
Full name + position |
Always include |
|
Contact Info |
Phone + email |
Make links clickable |
|
Company Logo |
Optimized image |
Resize under 300px wide |
|
Links |
Website, LinkedIn |
Max 3–4 links |
How to Add a Signature in Gmail on Desktop
Crafting an impressive email signature is straightforward with specialized tools like Newoldstamp.
The Gmail signature editor offers only basic options. Yet if you want to do it all yourself, I will walk you through the steps to create a professional email signature in Gmail in no time.
Don't miss out on the opportunity to enhance your email signature – whether you prefer a hands-on approach or the simplicity of a signature generator, we've got you covered.
Step 1. Open Gmail Settings
Go to your Gmail on desktop. Click the gear icon in the top right, then choose See all settings. You’ll be in the General tab.
Step 2. Go to the Signature Section
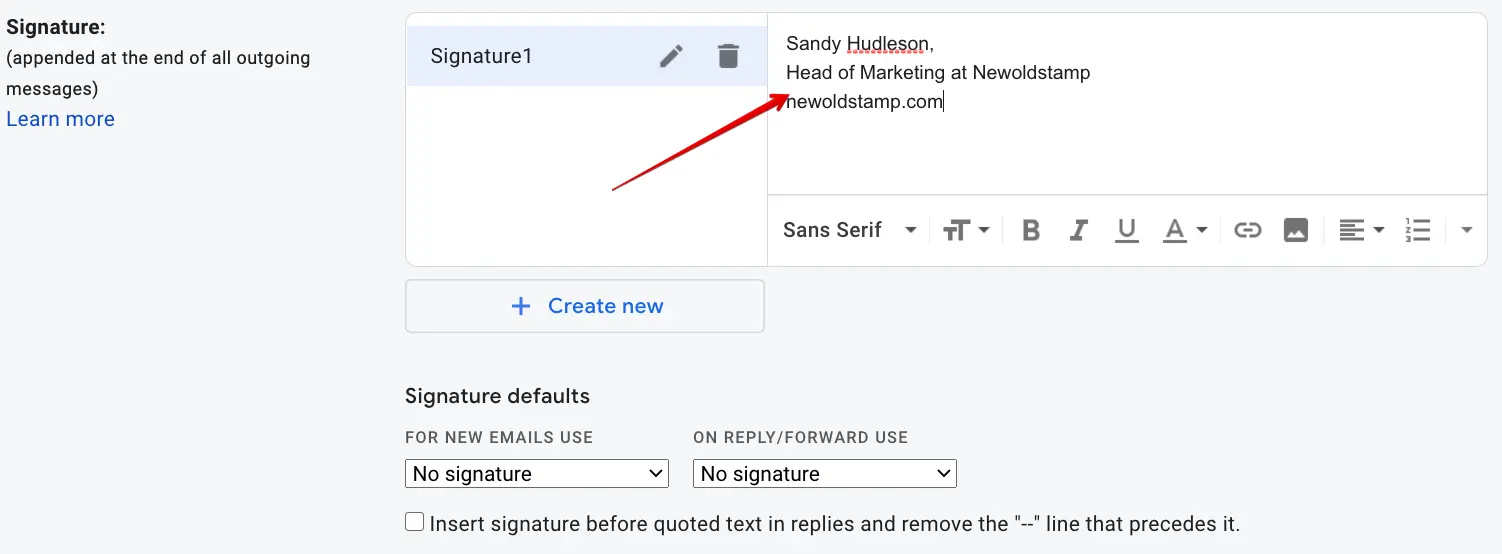
Scroll down to the Signature area. This is where you create and manage a signature for your Gmail account.
Step 3. Create a New Signature
Click Create new, give it a name, and enter the text you want to appear. Creating multiple signatures lets you switch between them using the pen icon while composing messages.
Step 4. Add Your Contact Details
Remember not to turn it into a laundry list. Include essential details like your name, position, company website, and phone number. Keep it concise and professional.
Consider using this standard Gmail signature format:
[Your Name]
[Your Position] at [Your Company]
_________________________________
Website: [Your Website URL]
Mobile: [Your Phone Number]
Address: [Your Address]
Note: Explore our free email signature generator for a simple yet visually appealing email signature.

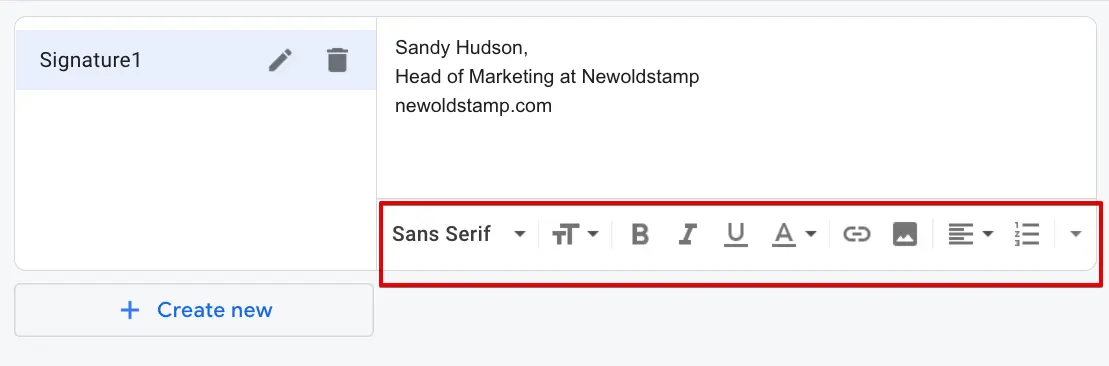
Step 5. Format Your Gmail Signature
Use the formatting tools to customize font, color, size, and spacing. Focus on mobile readability and brand consistency.
Consider using this standard Gmail signature format:
[Your Name]
[Your Position] at [Your Company]
_________________________________
Website: [Your Website URL]
Mobile: [Your Phone Number]
Address: [Your Address]
Note: Explore our free email signature generator for a simple yet visually appealing email signature.
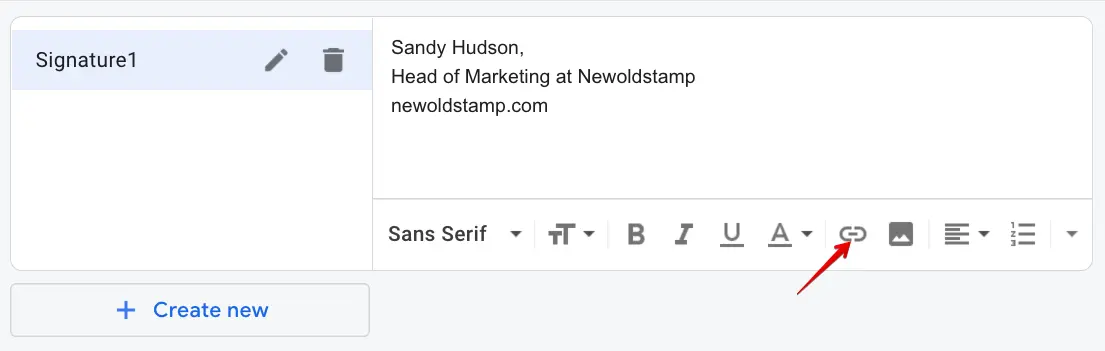
Step 6. Add Links to Your Gmail Signature
Consider adding a link to drive people to your website.
- Select the text to be linked, in our case, it's the company's website.
- Click on the 'Link' icon.
- Add the URL of the website.
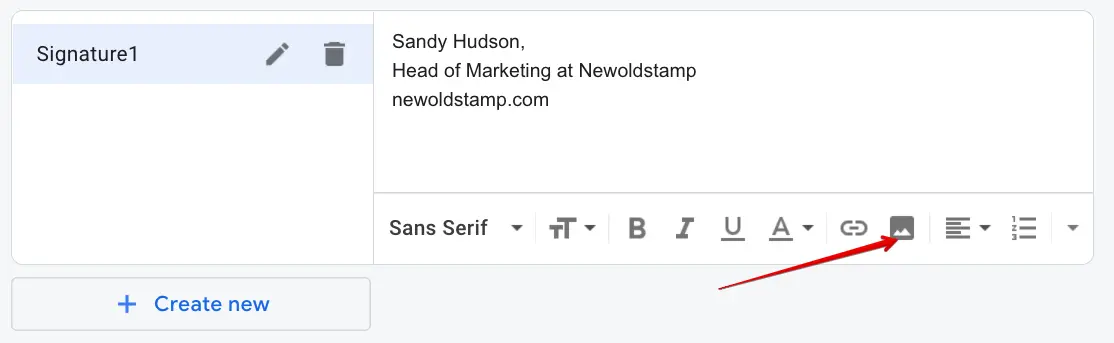
Step 7. Add an Image, Logo, or Photo
Adding a logo will raise your brand awareness, as every time the email recipient opens your email they will see your logo.
Another nice trick for getting under your subscriber's skin is by adding your photo. It will prove that there's a real person behind the email and will maybe make it a bit harder for them to say no to your requests.
Read more: How to add an image to your Gmail signature
- To add an image, upload it to the hosting service or copy the URL from your company's site.
- Click on the 'Insert image' icon.
- Insert the link to the image.
- Adjust the image.
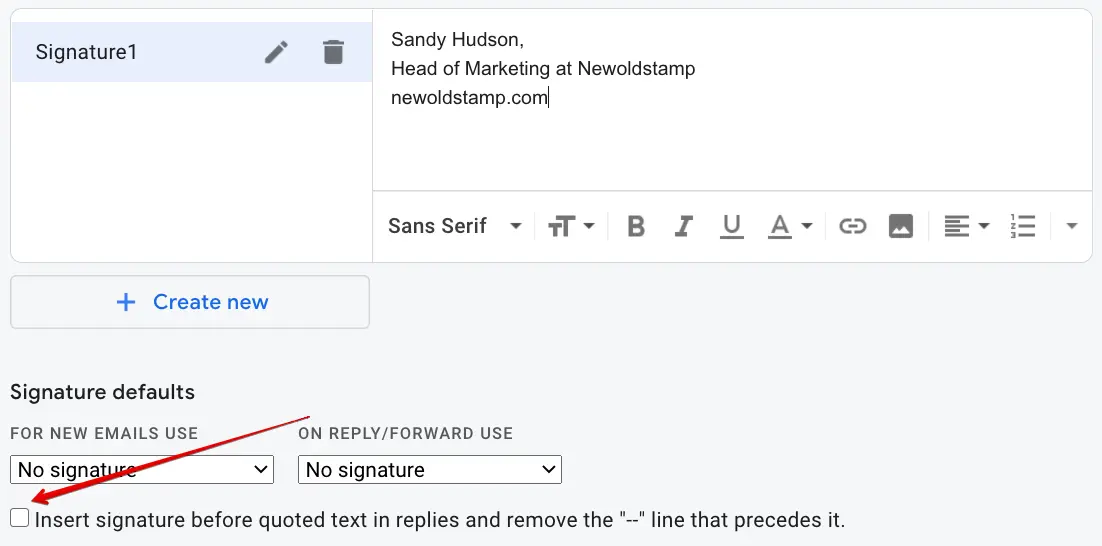
Step 8. Choose Signature Defaults and Remove Extra Dashes
Creating a Gmail signature automatically adds two dashes (--) above your signature, but you can choose to leave out the dashes. To do that, select 'Insert this signature before quoted text in replies and remove the '--' line that precedes it' checkbox.
Read more: How to add an image to your Gmail signature
1. To add an image, upload it to the hosting service or copy the URL from your company's site.
2. Click on the 'Insert image' icon.
3. Insert the link to the image.
4. Adjust the image.
Step 9. Save and Test Your Gmail Signature
Don't forget to save the changes. Scroll down to the bottom of the page and click save. Voila! You're good to go.
So creating an email footer in Gmail is certainly good enough. But if you want to get your email signature on a completely new level, you should try using the Newoldstamp email signature creator.
How to Add a Gmail Signature on Android (Mobile Signature)
- Open the Gmail app on your Android device.
- Tap the menu (three lines) → Settings → select your email account.
- Tap Mobile signature.
- Enter the text you want and tap Save.
This mobile signature appears on emails sent from your phone.

How to Add a Gmail Signature on iPhone or iPad
- Open the Gmail app.
- Tap the menu → **Settings** → your **email account** → **Compose and Reply**.
- Tap **Signature settings** or **Mobile Signature**.
- **Enter the text you want** to appear and go back to save.
How to Add an HTML Signature in Gmail
Create your signature using a tool like Newoldstamp, then copy the rendered code. In Gmail Settings → Signature section, paste it into the text box. This gives you advanced design elements that the native editor doesn’t support. Note: Gmail may strip some advanced HTML, so test thoroughly.
Gmail’s Native Signature Editor vs. Newoldstamp: Which Should You Use?
When Gmail’s Built-in Editor Is Enough:
For simple signature text, basic links, and occasional use.
When to Use a Gmail Signature Generator:
- Professional email signature templates
- Easy image and company logo insertion
- Banners, social icons, and CTA buttons
- Team management and deploy signatures
- Analytics to track views and clicks
Newoldstamp helps you create a polished Gmail professional email signature in minutes.
How to Create a Professional Gmail Signature with Newoldstamp
Create your professional Gmail email signature effortlessly with Newoldstamp’s Gmail signature generator.

Follow these easy steps:
- Go to Newoldstamp's email signature maker.
- Click 'Create Signature' and pick a template that suits you.
- Navigate to the Text/Style tab, and include your professional details in your signature.
- In the Design sub-tab, refine your signature's design elements by adjusting colors, fonts, and size.
- Move to the Image tab to add your photo or company logo. Customize its shape and size, and add a link.
- Visit the Social tab to add social media icons and links. Adjust colors, shapes, sizes, and backgrounds.
- Explore the Banner tab to upload your banner. Choose its shape, and size, and add an image URL. Alternatively, choose a banner from our pre-designed gallery.
- Head to the Apps tab to include legal disclaimers, green messages, buttons (Social, Reviews, Marketplaces, Podcasts, Scheduling, Call-to-actions, Video conferences, Events), and custom HTML and texts.
- Check out the Layouts tab and choose your preferred signature layout.
- Click 'Save to dashboard,' and use the signature!

How to Install a Newoldstamp Signature in Gmail
After creating your signature:
- Click Copy Signature.
- Paste it into Gmail’s signature text box.
- Or use the direct “Install with Google” button.
- Set it as default and test in every email.
Video: How to install a signature in Gmail?
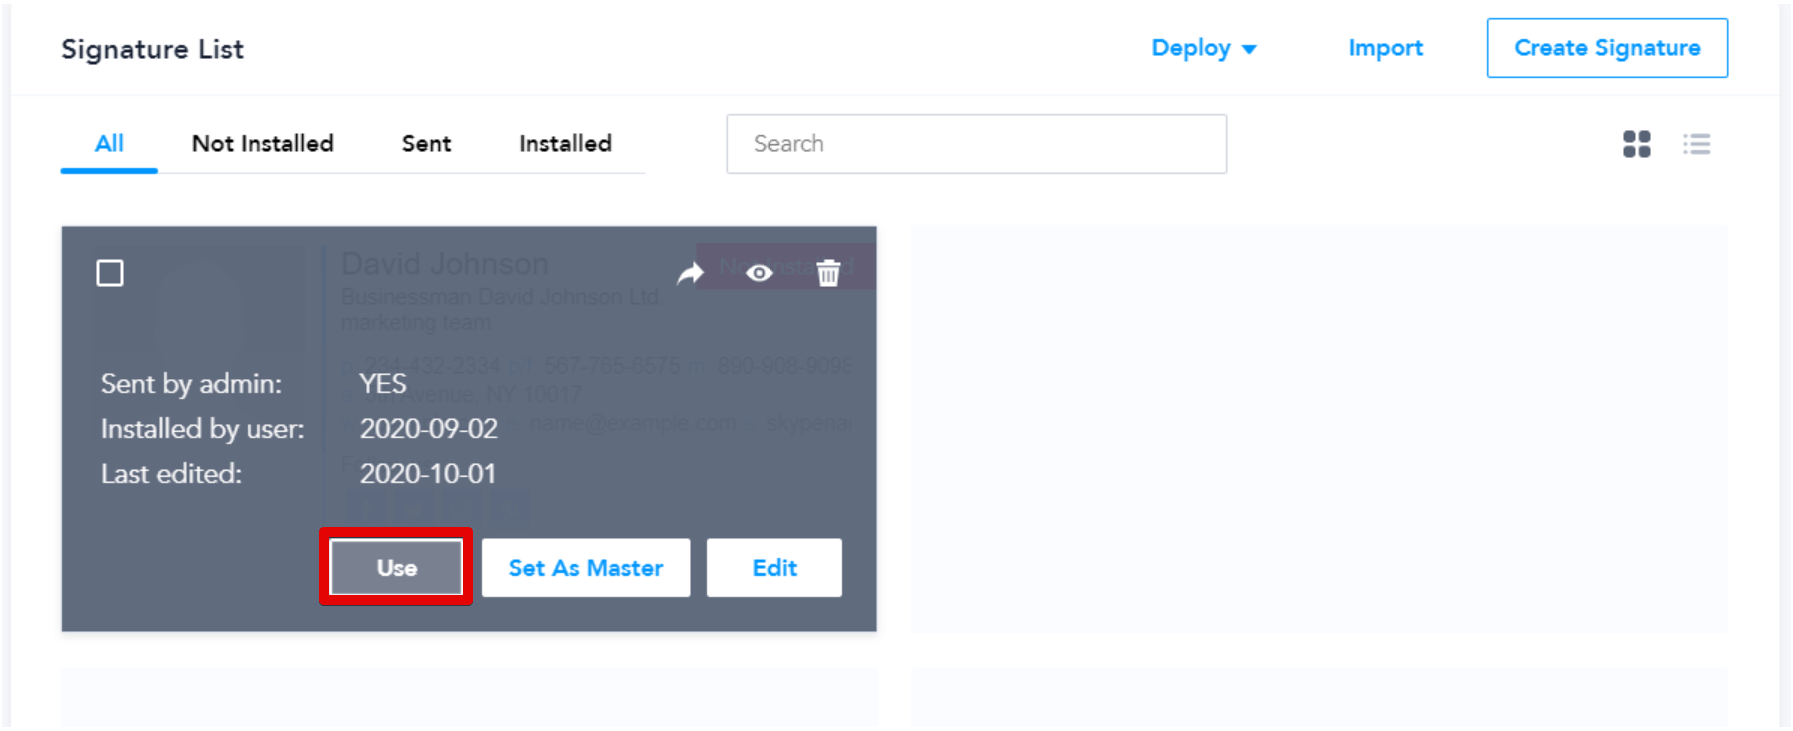
1. After crafting your email signature, hover over your signature on the Dashboard and click 'Use.'
2. In the list of email clients, choose the Gmail icon.

3. Click the 'Copy Signature' button under the signature preview to save the code to your clipboard.

4. Open your Gmail mailbox, click the Nut Icon at the top right, and select 'See all settings.'
5. Scroll down to the 'Signature' section in the General tab. Click '+ Create New' to make a new signature.
6. Give your signature a name and hit 'Create.'
7. Paste the signature into the box using Right-Click and Paste or CTRL + V shortcut.
8. Optionally, check 'Insert the signature before the quoted text.' Choose your signature in 'Signature defaults' for new emails and replies/forwards.
9. Scroll down and click 'Save Changes' at the bottom.
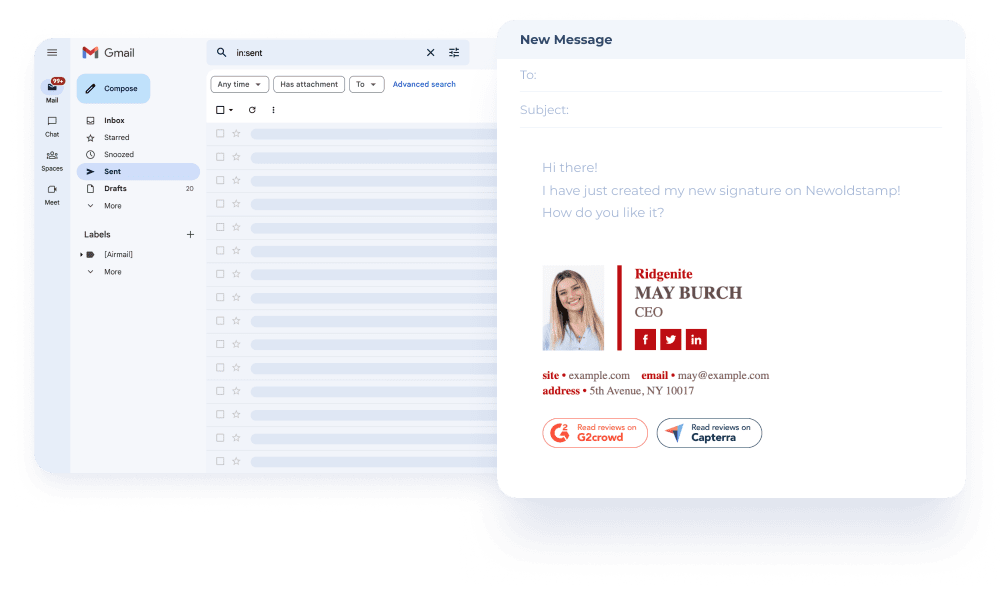
10. Open a new message window in your Inbox and click 'Compose' to see if your signature appears correctly.
That's it! Your Gmail signature is now ready. You can use different signatures for various situations with the pen icon.

Troubleshooting: Gmail Signature Not Showing, Formatting Incorrectly, or Images Missing
Common issues and fixes for troubleshooting issues with Gmail signatures:
- Signature not appearing → Check default for new emails settings.
- Images missing → Use proper hosting (avoid large Google Drive links).
- Formatting broken on mobile → Resize images and use web-safe fonts.
- Pixel issues or broken links → Test on different devices.
How to Manage Gmail Signatures for a Team or Google Workspace
For companies using Google Workspace, you can deploy signatures consistently across the organization. Newoldstamp’s master template feature lets administrators update everyone’s Gmail professional email signature at once, maintaining brand control.

Gmail Signature Best Practices
- Keep it concise (4–6 lines).
- Use the formatting tools for clean design.
- Always test on mobile.
- Include key links only.
- Add your company logo at an appropriate size.
- Make sure design elements appear cleanly at the bottom.
Conclusion
A Gmail signature is the final positive impression you can create in your email. It can be the spark that will reinforce the professionalism of your outgoing emails and serve as a gentle push to get the recipient to act in your favor. Don't waste this opportunity; create and add Gmail signatures to make your email stand out from the clutter of inboxes.
Don't let a basic signature limit your email experience. Embrace the power of a professional signature with Newoldstamp.
Read more: Gmail tips and tricks to organize your inbox
Frequently asked questions
Can I use the same Gmail signature on desktop and mobile?
Yes. If you don’t set a separate mobile signature, Gmail often uses your desktop signature.
How to change a signature in Gmail?
Go to your Gmail → Settings → Signature → select and edit the signature → Save.
How to set auto Gmail email signatures?
Choose your default for new emails and replies in the Signature defaults section.
How to have multiple signatures in Gmail?
Create several signatures and switch between them using the pen icon when composing.
How to make a professional Gmail signature?
Include name, role, company, phone, web address, LinkedIn, company logo, and a clear CTA. Keep it professional and mobile-friendly.

