How to Create Email Signature in Horde
Horde email client is the most popular product from its ecosystem. The Horde group includes apps for email communication and contacts, reading lists, calendars, and tasks. Moreover, if you’re familiar with coding, you can customize your working environment.
If you’re an active Horde webmail user, here are step-by-step instructions on adding an HTML email signature to your emails.
Before you go to your Horde email client settings, make sure you have prepared and designed the Horde email signature you like. In case you don’t have one, go ahead and create an email signature with Newoldstamp.
Creating an email signature in Horde
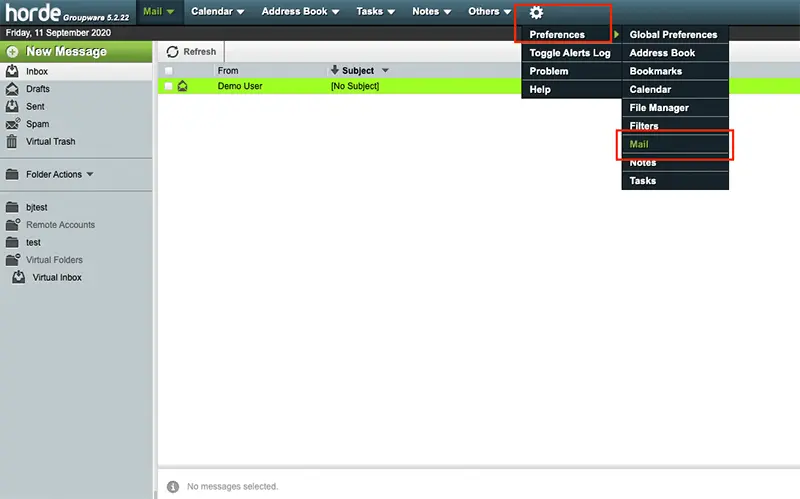
Step 1. Open Horde Webmail. Click the gear icon in the header. Hover over the “Preferences” and choose “Mail.”
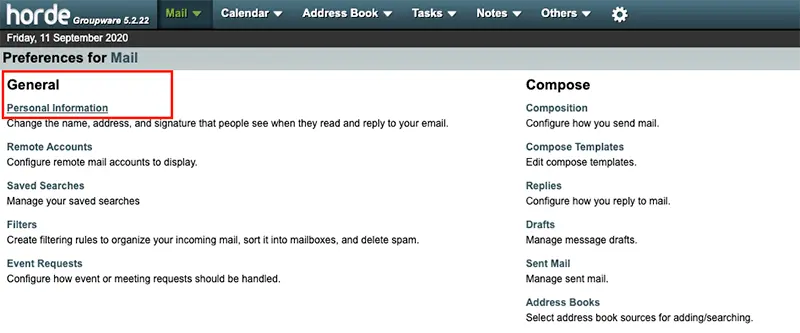
Step 2. In the Preferences for Mail find “General” and click “Personal Information”.
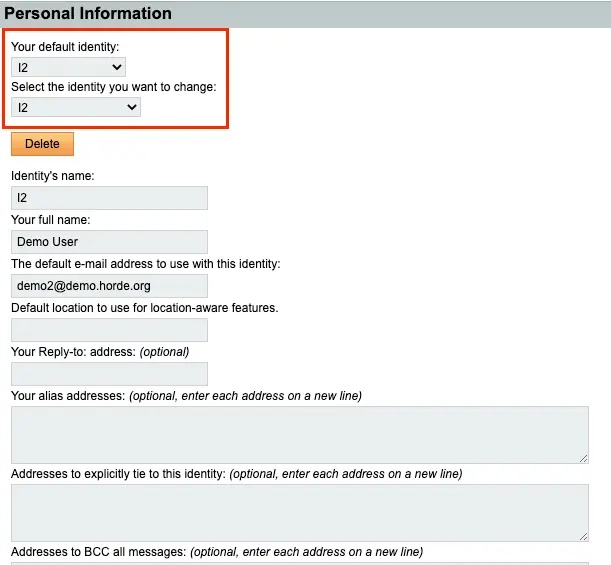
Step 3. At the top of Personal Information, there are two drop-downs. The first one is your default identity; the second is the identity you’ll edit.
In these identities, you can add your details like email address, name, etc. Choose the identity to which you want to create an email signature.
Step 4. Scroll down to the signature boxes. Leave the first “Your Signature” box empty. This box is used for plain text signatures.
To add your nicely designed Horde email signature, use the second box with an HTML editor. Go back to the Newoldstamp generator or open the file with your HTML signature and copy it. Use keyboard shortcut Ctrl+A (Cmd+A for Mac) to select the signature and Ctrl+C (Cmd+C for Mac) to copy.
As you paste your signature don’t forget to click “Save” at the bottom of the page.
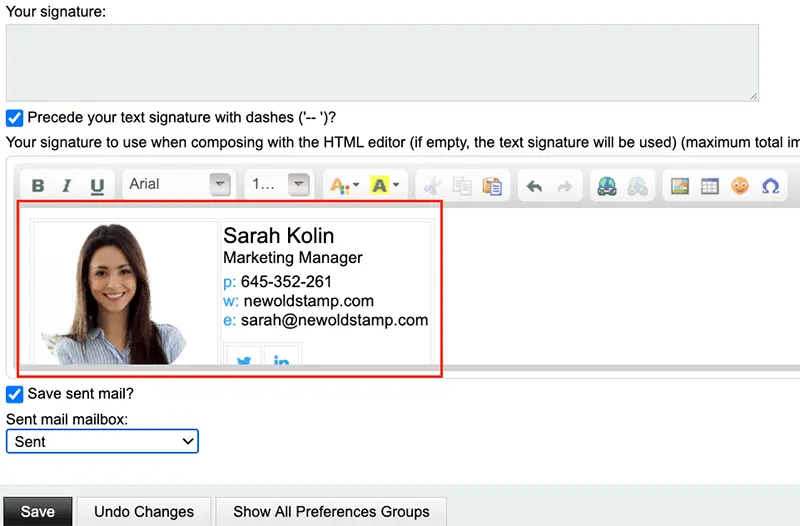
Note: The table around your Horde email signature will disappear in emails you send. You will see it only here as you add your signature and in the “Compose” window.
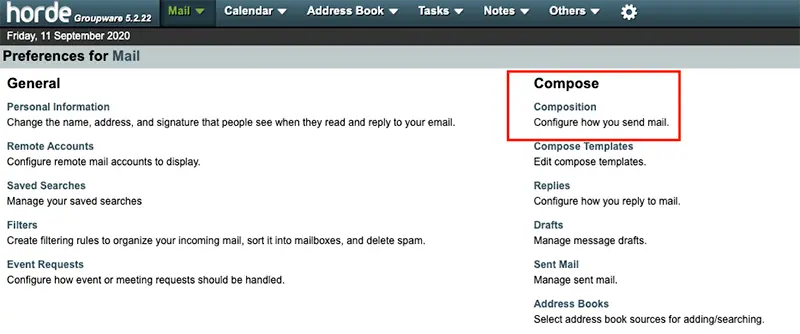
Step 5. Go to “Mail” in the Preferences again. Find “Compose” and click “Composition”.
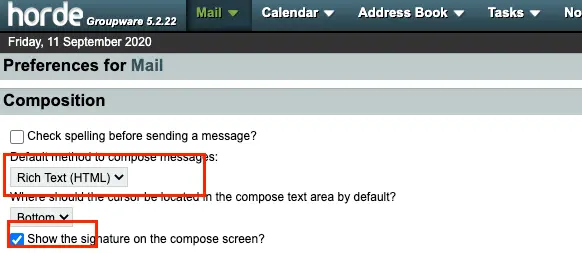
Step 6. Select “Rich Text” as a default method in Composition settings and mark the checkbox “Show the signature on the compose screen?”
Step 7. Now you can test your email signatures setting. Create “New Mail” to check your signature. It will be at the bottom of the screen in an additional field.


