How to add a signature to Copper (Formerly Prosperworks)
Being a professional CRM platform for GoogleApp users, Copper is designed with usability in the first plan. This platform takes little time to improve the interaction between its users and their customers.
If you haven`t added an emails signature yet, you are at the right place. Here are detailed step-by-step instructions that will lead you through the installation process seamlessly.
![]()
source: Copper
Copper predetermines two basic ways how to add emails signature to your account. Let`s consider both of them for your convenience.
Option 1
Step 1
First of all, you need to make sure your emails signature is installed into your Gmail settings. If not, follow the step described in our ‘How to add the email signature in Gmail?’ Guide. This process will take only a few additional minutes but it is definitely worth the effort.
Step 2
Now when you are sure your email signature is installed into Gmail and functions well, log in to your Copper CRM account. Then, select ‘Settings’ from your toolbar on the left side.
Step 3
Select the ‘Email Settings’ item under the ‘Preferences’ heading. After that select ProsperWorks as the program to set email links for.
Step 4
Tick the box ‘Use my signature when sending emails from Copper’ below.
Now your emails signature is installed and ready to use. Congratulations.
Option 2
Note. This option works well only for those having CRM Admin rights.
Step 1
Every time composing an email from CRM you have a chance to add a specifically tailor email signature or to choose different pre-configured signatures. Simply click the plus icon to create a new one.
Step 2
‘New Email Signature’ field allows creating a new email signature and give it a name for more convenient use in the future. You can create a signature by merely typing the desired text into the field or by pasting the previously created and copied HTML Signature.
For real pros, there is an option to edit the HTML of the signature by clicking the ‘View Source’ button
Step 3
To include any information in the email signature which will be unique to the CRM user who uses it uses the Field Selector on the right-hand side of the editor.
Step 4
Once you are satisfied with the mail signature click the 'Create' button to save it. Now the newly created email signature will appear on the signature drop-down to be used in the Send Email view.
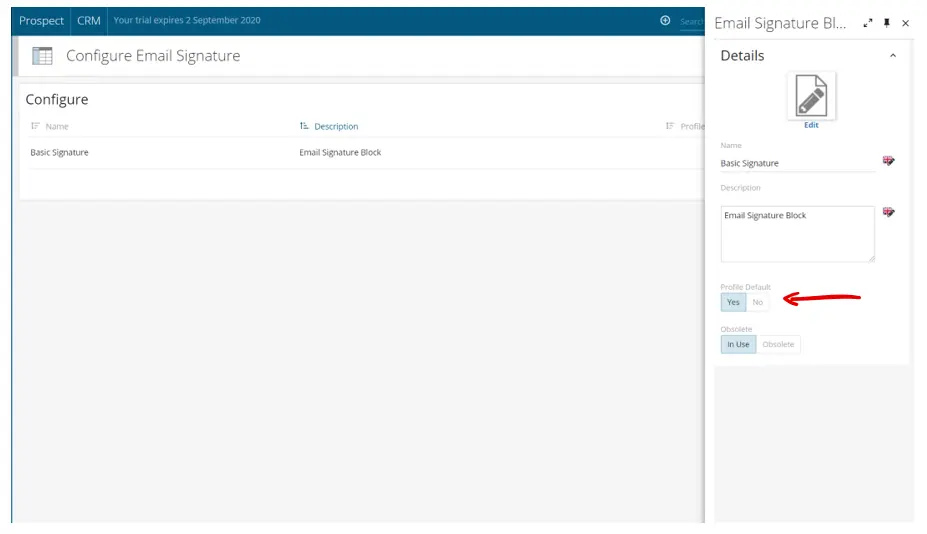
Note. If you set a signature as the Profile Default so users don't have to select the signature every time they send a new email via the CRM.

Enjoy the benefits of your professional email signature every time you send a message at almost no effort or additional costs for you.


